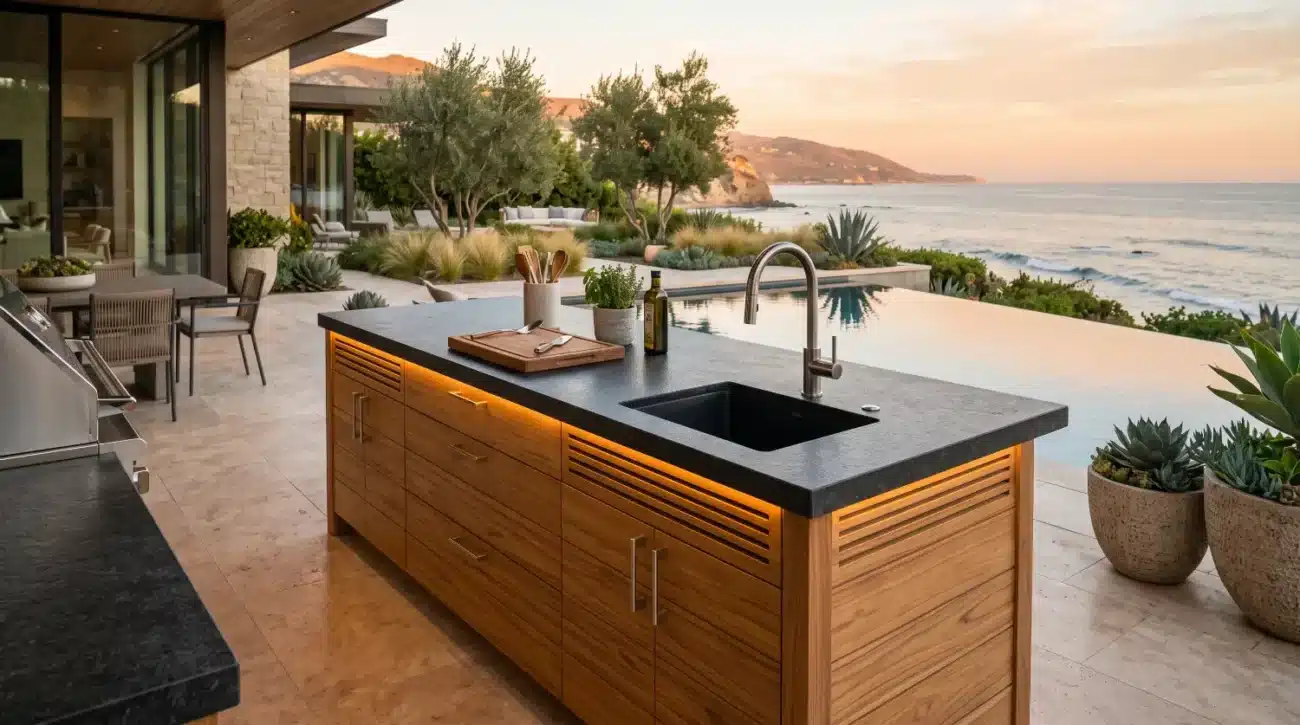
Executive Summary: Outdoor Kitchens
-
Zone-Based Spatial Workflows: Organizing cookstations into designated Hot, Cold, Wet, and Dry zones reduces movement friction and prevents cross-traffic congestion during large-scale entertaining.
-
Ergonomic Clearance Tolerances: Strategic positioning of island depths, prep clearances, and appliance cutouts ensures effortless transition from informal prep work to high-volume hosting.
-
Solid Teak Structural Superiority: Precision-milled Grade-A teak base cabinetry provides the structural foundation required to absorb heavy stone countertop loads while resisting harsh outdoor elements.
-
Bridging Design to Specification: Translating mood board vision into actionable trade blueprints requires exact CAD clearances, passive airflow ventilation, and marine-grade joinery specs.
Designing an Ergonomic Outdoor Kitchen Layout for High-End Entertaining
When a luxury outdoor kitchen fails, it rarely stems from poor appliance selection or uninspired material palettes. It fails because of spatial friction. Consider a coastal residence in Malibu where an expansive outdoor kitchen island was topped with exquisite dark quartzite slabs, yet the homeowner found hosting unmanageable. Guests constantly collided with the primary chef, the prep sink was isolated from the primary cooking surface, and the refrigeration drawers opened directly into the main traffic pathway toward the infinity pool. The underlying culprit was a critical failure in spatial ergonomics and workflow planning.
Designing an outdoor culinary space requires a shift from indoor architectural conventions. Exterior environments present dynamic challenges—from intense wind vectors and solar heat gain to high-volume guest circulation. By prioritizing spatial workflow, trade-level structural clearances, and timber mechanics, you can craft an outdoor kitchen that elevates the entertaining experience while serving as a timeless architectural focal point.
Master Zone-Based Architecture: Organizing the Four Essential Workflows
An ergonomic outdoor kitchen layout organizes mechanical equipment, storage, and food preparation areas into four distinct functional zones: Hot, Cold, Wet, and Dry. Grouping these workflows logically prevents cookstation cross-contamination and allows multiple hosts or caterers to operate simultaneously without spatial collision.
The Four Ergonomic Zones Overview
-
The Hot Zone: Incorporates high-heat cooking equipment, including primary gas grills, power burners, side burners, charcoal kamado units, and integrated pizza ovens.
-
The Cold Zone: Houses temper-sensitive food storage and beverage equipment, including undercounter refrigerators, wine preservation drawers, dual-zone beverage centers, and commercial ice makers.
-
The Wet Zone: Features water access points and cleanup stations, including deep stainless steel prep sinks, pull-out trash and recycling receptacles, and dedicated cocktail stations.
-
The Dry Zone: Provides continuous countertop space for raw food prep and finished dish staging, paired with secure storage cabinetry for dry goods, grilling utensils, and serving platters.
The Typical Zone Flow Pattern
-
Initial Storage and Retrieval: Food and ingredients originate in the Cold Zone within undercounter refrigeration drawers.
-
Washing and Preparation: Ingredients transfer directly to the Wet and Dry Zones for washing, slicing, marinating, and plating.
-
Active Cooking: Prepared items move into the Hot Zone for high-temperature grilling, searing, or baking.
-
Plating and Guest Service: Finished culinary creations exit the Hot Zone toward landing counters for immediate guest service and entertaining.
The Hot Zone: High-Heat Prep and Cooking Surfaces
The Hot Zone comprises primary gas grills, secondary power burners, charcoal kamados, and integrated pizza ovens. This zone demands the highest safety and ventilation clearances. High-performance gas grills require a minimum of 12 inches of continuous counter space on both sides to accommodate plating trays, heavy cast-iron cookware, and grilling utensils.
Positioning the Hot Zone requires careful attention to natural site conditions. Prevailing winds can disrupt burner stability, draft smoke directly into guest seating areas, or trap intense heat against wooden structures. Integrating solid teak cabinetry beneath thermal cookstations requires a specialized approach. While Grade-A teak possesses exceptional density and high natural oil content that stabilizes timber under thermal stress, active heat zones require insulated jackets and vented cutouts to safeguard the wood framing.
The Cold Zone: Refrigeration, Storage, and Ice Production
The Cold Zone houses undercounter refrigerators, wine preservation drawers, dual-zone beverage centers, and commercial ice makers. Positioning this zone on the perimeter of the primary cooking triangle allows guests to access cold beverages without entering the chef’s active work path.
Refrigeration units generate significant exhaust heat that must vent cleanly out of the cabinet cavity. When incorporating refrigeration inserts into solid timber enclosures, specify passive rear or toe-kick ventilation paths. Trapping ambient heat inside closed cabinetry reduces compressor efficiency and accelerates component failure.
The Wet Zone: Sinks, Beverage Prep, and Waste Disposal
The Wet Zone centres around stainless steel sinks, pull-out trash receptacles, and dedicated cocktail stations. Ergonomically, the wet zone should bridge the gap between the Cold Zone and the Dry Zone, streamlining raw food preparation and cleanup.
In luxury coastal installations from Miami to Palm Springs, wet zones endure aggressive exposure to salt air and water splash-back. Integrating marine-grade 316 stainless steel fixtures with solid teak sink base cabinets creates an impervious barrier against moisture intrusion. Teak’s natural silica content and natural rubber resins prevent structural delamination, making it superior to composite materials that absorb moisture over time.
The Dry Zone: Countertop Preparation and Modular Storage
The Dry Zone serves as the central workstation where food is seasoned, plated, and arranged prior to cooking or serving. This area requires uninterrupted countertop space—ideally a continuous expanse measuring at least 36 to 42 inches in width.
Positioning the Dry Zone adjacent to robust base cabinetry ensures that prep tools, serving platters, and spices remain accessible yet protected from weather elements. Utilizing custom solid teak base cabinets within the Dry Zone provides storage while establishing a continuous architectural visual line across the layout.
Precision Ergonomics, Spatial Clearances, and Load Engineering
Establishing appropriate spatial dimensions ensures that the outdoor kitchen functions effortlessly during high-capacity gatherings. Insufficient clearances create bottlenecks, limit appliance door swing, and compromise user comfort.
Work Triangle and Landing Zone Tolerances
-
Primary Work Triangle: The combined distance between the grill surface, primary sink, and primary refrigeration unit should measure between 13 and 26 feet.
-
Grill Landing Zones: Maintain 24 inches of clear landing space on the primary prep side of the grill and 12 to 18 inches on the non-prep side.
-
Prep Counter Width: Provide a minimum continuous expanse of 36 inches, with a standard counter depth of 24 to 27 inches for residential applications.
-
Counter Height Engineering: Standard counter height is 36 inches above the finished floor level. For dedicated bar seating overhangs, elevate the secondary seating tiers to 42 inches to obscure active cooking prep from guests.
Spatial Circulation and Walkway Geometry
-
Single-Chef Passageways: Ensure a minimum aisle width of 42 inches between counter edges or facing appliances.
-
Multi-Cook Work Zones: Expand walkway clearances to 48 or 54 inches in high-traffic residential settings, especially where island seating faces the main prep run.
-
Bar Stool Overhangs: Provide a minimum 12-inch knee clearance for 42-inch high bar counters, and a 15-inch knee clearance for standard 36-inch high counter-level seating.
-
Appliance Door Clearances: Factor in a 24-inch clear radius in front of open dishwasher, trash, or refrigeration doors to prevent blocking pathways.
Structural Load Distribution for Stone Surfaces
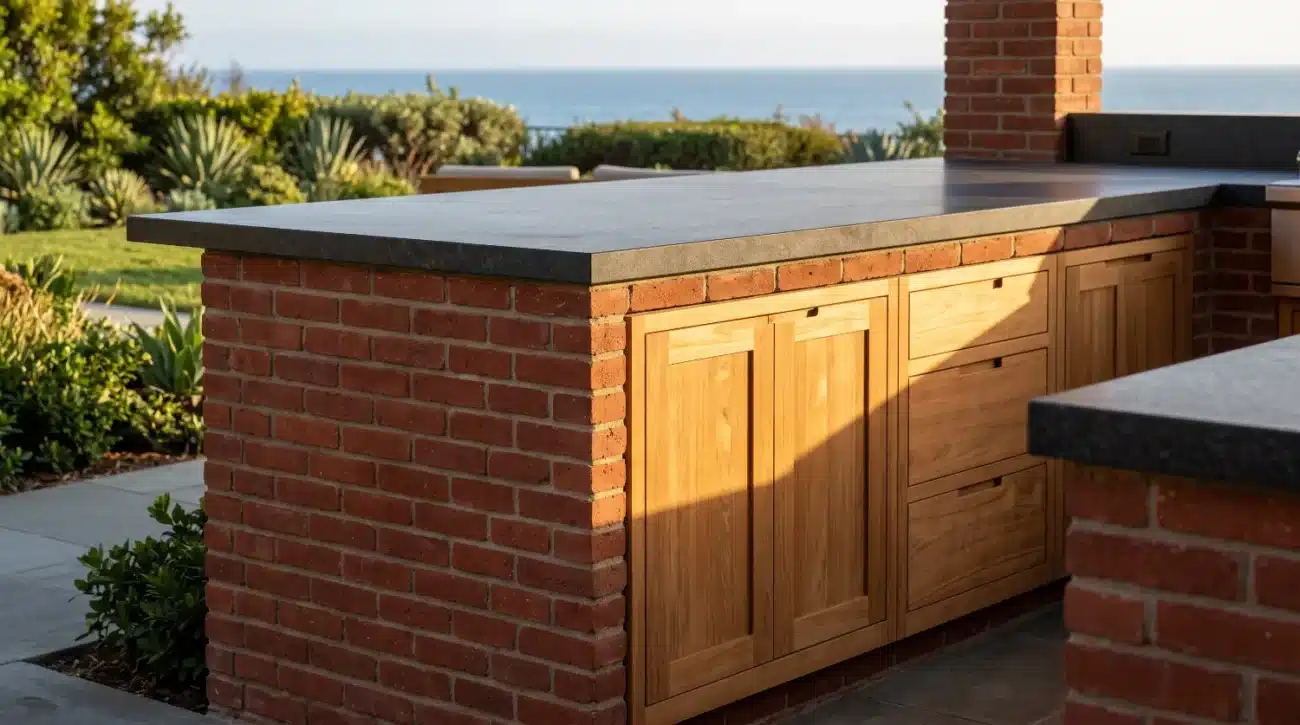
Modern luxury outdoor kitchens often feature heavy countertop surfaces, including 3cm quartzite, thick granite, or cast concrete slabs. These materials generate substantial loads, often exceeding 20 to 30 pounds per square foot.
-
Top Counter Surface: Heavy 3cm quartzite, natural granite, or poured concrete slabs deliver high durability but exert continuous downward force ranging between 20 and 30 pounds per square foot.
-
Framing Foundation: Solid teak face frames and traditional mortise-and-tenon joinery absorb this heavy surface mass without sagging, racking, or flexing under load.
-
Load Transfer System: Heavy-duty marine-grade 316 stainless steel leveling legs transfer the overall downward weight safely to the finished floor foundation, preventing stress fractures across high-end stone counters.
Executing this level of structural support requires cabinetry engineered with uncompromising joinery standards. Mortise-and-tenon construction, paired with robust face frames, distributes heavy vertical forces downward to the foundation. When paired with adjustable 316 stainless steel levelling feet, solid teak cabinet runs eliminate floor unevenness, keeping expensive stone counters level and free from stress cracks.
For guidance on specifying structural loads and custom configurations, explore the Pacific Teak Millworks Resource Center or consult with technical advisors on CAD integration.
Material Science in Coastal and Sunbelt Environments
Selecting materials for luxury exterior kitchens requires balancing aesthetic warmth with resistance to atmospheric degradation. Coastal environments subject joinery to high humidity and salt spray, while Sunbelt installations face extreme solar heat gain and thermal cycling.
Wood Anatomy and Teak’s Resinous Protection
Grade-A teak (Tectona grandis) harvested from mature plantation heartwood provides exceptional natural defense against environmental weathering. Unlike softwoods or low-density hardwoods that rely on topical chemical treatments, Grade-A teak contains dense natural rubber resins and a high percentage of natural silica.
Timber Performance Comparison: Grade-A Teak vs. Standard Hardwoods and Plywoods
-
Grain Structure Characteristics: Grade-A teak features exceptionally dense heartwood with tight growth rings, whereas standard hardwoods and exterior plywoods exhibit variable, porous structures that allow moisture intake.
-
Silica and Natural Oil Density: Grade-A teak contains high concentrations of natural organic silica and self-sealing tectonic oils. In contrast, standard hardwoods contain minimal natural oil, requiring continuous chemical surface sealing to survive outdoors.
-
Moisture Defense Mechanics: Grade-A teak is naturally hydrophobic, resisting rot and swelling. Standard exterior plywoods and softwoods absorb rainwater, expanding and delaminating under repetitive freeze-thaw cycles.
-
Surface Coating Compatibility: Grade-A teak performs best when left to age to a soft silver patina or treated with thin penetrating oils. Standard hardwoods treated with film-forming topical sealers eventually bubble, peel, and trap wood-rotting moisture underneath.
Applying thick polyurethane or film-forming clear coats to outdoor teak is a common specification error. These synthetic coatings trap ambient moisture within the wood cells. When exposed to direct sunlight, thermal expansion forces the coating to bubble, crack, and peel, leading to localized wood rot underneath. To preserve teak’s deep luster, treat the wood periodically with breathable penetration oils or allow it to naturally oxidize into a refined silver-grey patina. Review the detailed Pacific Teak Millworks Teak Care Guide for complete maintenance protocols.
Hardware Mechanics: Marine-Grade 316 Stainless Steel
Cabinet hardware in outdoor installations is subject to relentless atmospheric exposure. Standard 304-grade stainless steel—frequently utilized in indoor luxury appliances—often exhibits surface rust (tea-staining) when exposed to coastal salt air or chlorinated pool splash.
Specifying 316 marine-grade stainless steel hardware ensures long-term performance. The addition of molybdenum in 316-grade steel significantly increases resistance to chloride corrosion. Full-extension ball-bearing drawer glides, soft-close door hinges, and structural assembly fasteners crafted from 316-grade steel ensure smooth operation over years of active use.
Bridging the Specification Gap: From Inspiration to Builder Blueprints
A frequent challenge in luxury exterior construction occurs during the handoff between conceptual design and physical installation. High-net-worth clients often collect spatial inspirations on mood boards, presenting them to their interior designer or landscape architect. However, translating a conceptual rendering into a functional build requires meticulous trade specifications.
The Four Stages of Conceptual-to-Build Specification
-
Client Inspiration: The homeowner gathers aesthetic imagery, material preferences, and desired outdoor appliance lists onto digital mood boards.
-
Architect and Designer CAD Layout: The design professional translates aesthetic concepts into scaled CAD floor plans, applying ergonomic clearances and functional zone planning.
-
Trade Specification and Engineering: The project builder and millwork specialist resolve electrical rough-ins, gas stub locations, appliance weight tolerances, and ventilation paths.
-
Site Construction and Installation: Subcontractors install precision-milled solid teak cabinetry, 316 stainless steel hardware, custom stone countertops, and integrated mechanical appliances according to the finalized specs.
Navigating the D2C to B2B Handoff
To ensure seamless execution, design professionals must bridge the gap between aesthetic vision and structural requirements:
-
Site Utility Rough-Ins: Establish exact gas, water, electrical, and drainage stub-out locations prior to cabinet installation. Utilizing custom cabinetry runs with open back planes simplifies plumbing and gas connections.
-
Appliance Cutout Tolerances: Appliance manufacturers provide specific rough opening dimensions. Cross-reference these dimensions with cabinet unit cutouts, accounting for thermal expansion gaps around high-heat units.
-
Combustible Clearance Regulations: Review local building codes regarding clearances to combustible materials. Aligning high-heat gas grills with solid teak base cabinetry requires heat-shield insulation sleeves to comply with safety requirements.
-
CAD/BIM Asset Integration: Designers should incorporate manufacturer-specific CAD blocks directly into floor plans and elevation views. This guarantees precise spatial alignment for trade crews on site.
Coordinating Trade Workflows on Site
Successful installations depend on a synchronized workflow across trades. The landscape contractor, master plumber, electrician, and stone fabricator must operate around a unified cabinet plan.
Installing freestanding solid teak island modules or modular wall runs provides an stable framework for surrounding trades. The general contractor can level the cabinetry runs using adjustable marine-grade leveling legs, establish utility connections through pre-milled access ports, and measure final dimensions for custom stone fabrication.
For comprehensive technical specifications, CAD layout guides, and warranty details, refer to the Pacific Teak Millworks Warranty Documentation.
Architectural Layout Inspirations: Spatial Configurations
Selecting the optimal kitchen footprint depends on site topography, architectural orientation, and intended entertaining patterns. Below are four key architectural layouts for luxury outdoor spaces.
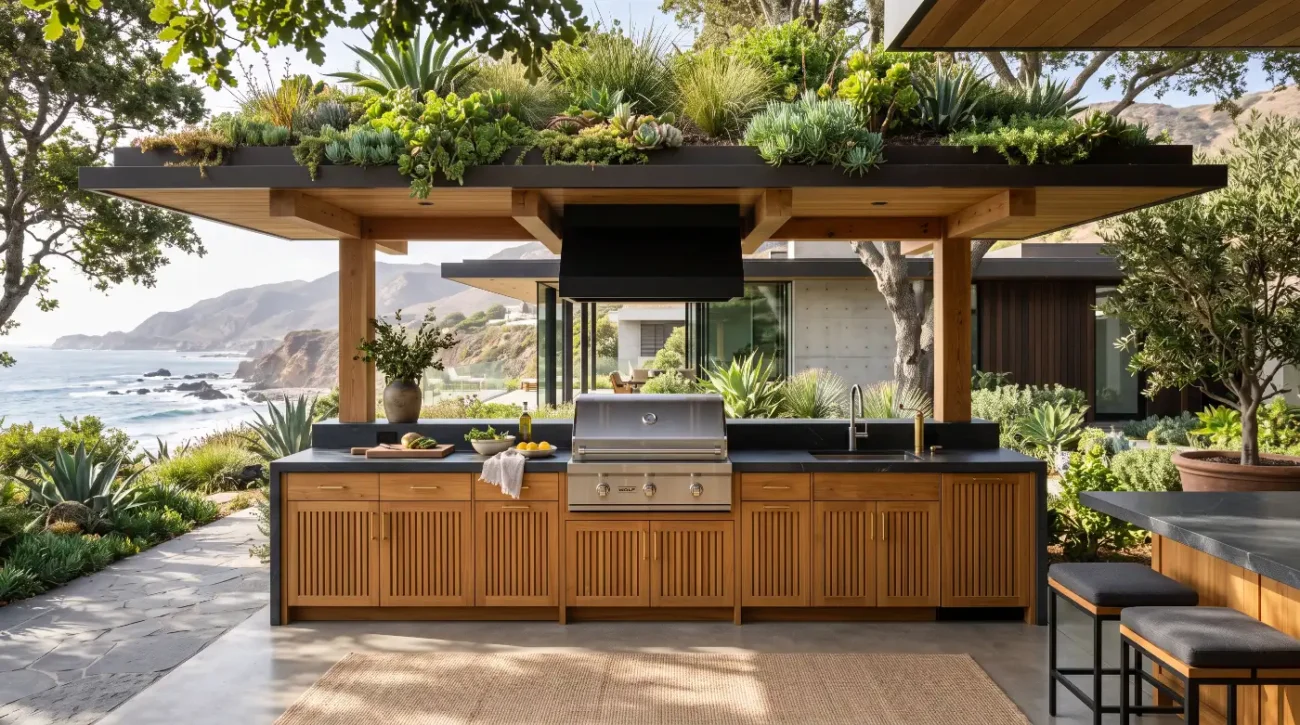
The L-Shaped Layout: Architectural Integration for Covered Patios
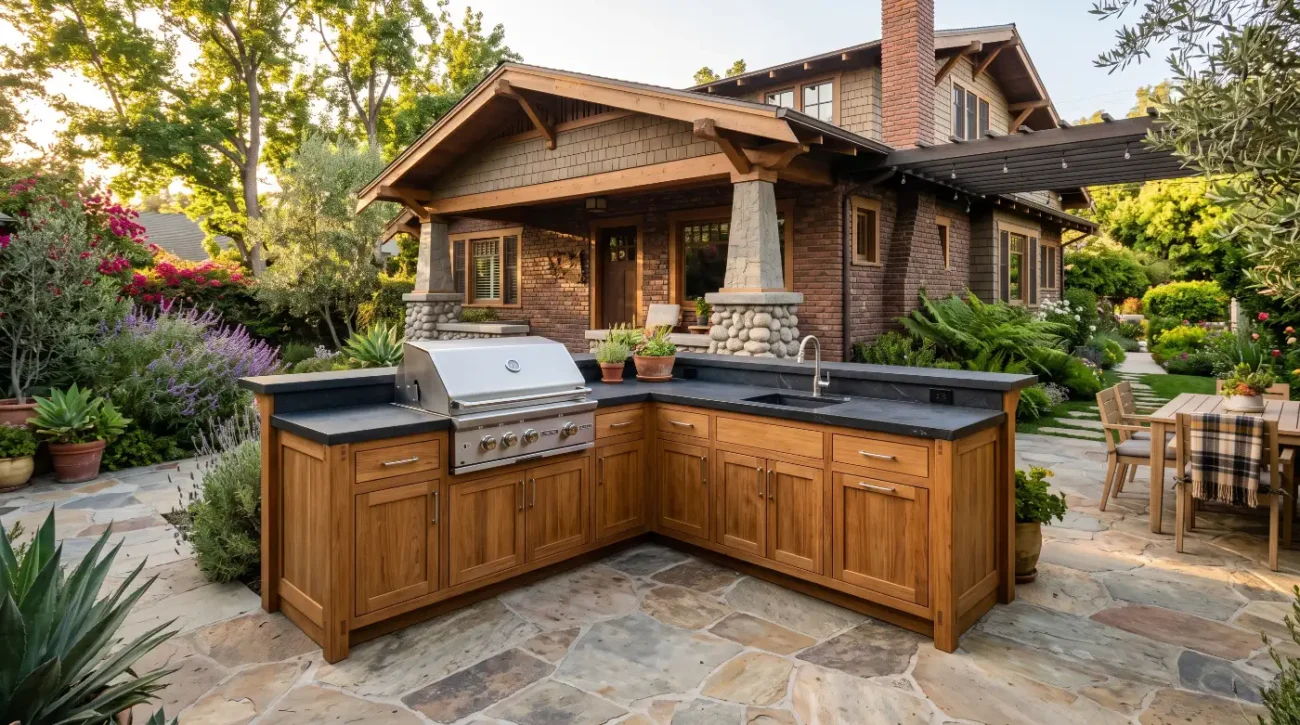
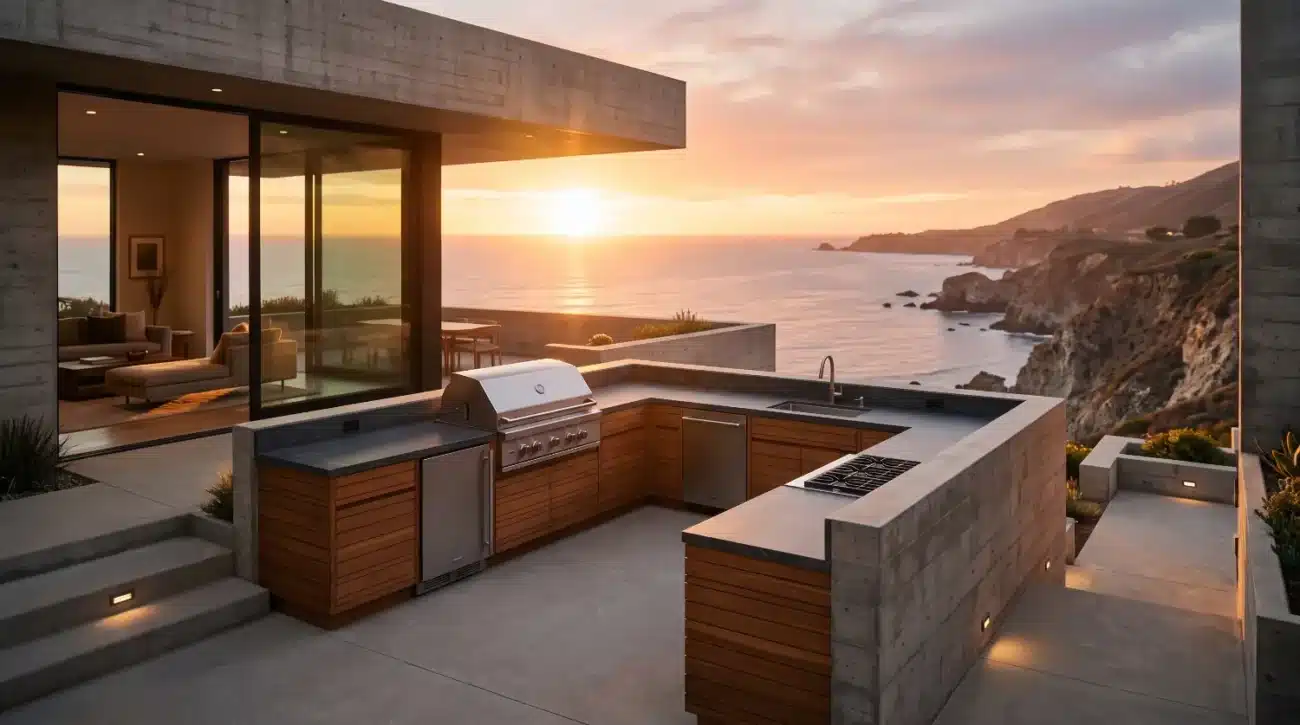
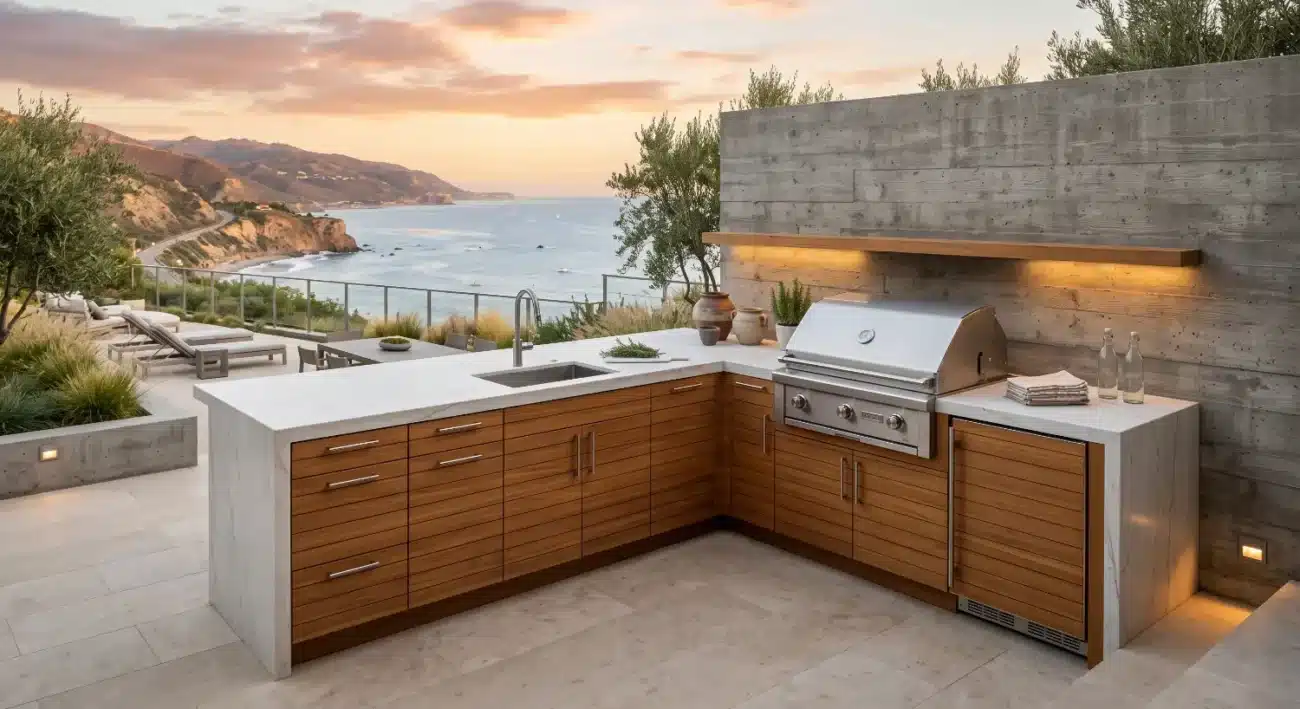
The L-Shaped configuration utilizes existing architectural walls or pavilion structures to establish two intersecting work runs. This layout naturally isolates the Hot Zone on one leg while dedicating the remaining run to Wet and Dry prep areas.
L-Shaped Layout Architectural Flow
-
Primary Wall Boundary: Positioned directly against an existing exterior home wall, covered loggia, or masonry pavilion structure.
-
Hot Zone Leg: Anchors the high-heat cooking equipment, such as gas grills and power burners, along a well-ventilated outer wall segment.
-
Wet and Dry Zone Leg: Extends perpendicular to the cooking run, accommodating prep countertops, undercounter refrigeration drawers, and cleaning sinks.
Execution Details
-
Best Suited For: Covered loggias, poolside cabanas, and urban terrace installations.
-
Ergonomic Advantage: Minimizes circulation foot traffic across the primary cooking area, maintaining open floor space for dining tables and lounge seating.
-
Design Integration: Pairing continuous solid teak wall cabinets with base runs maximizes vertical storage capacity while keeping surfaces clutter-free.
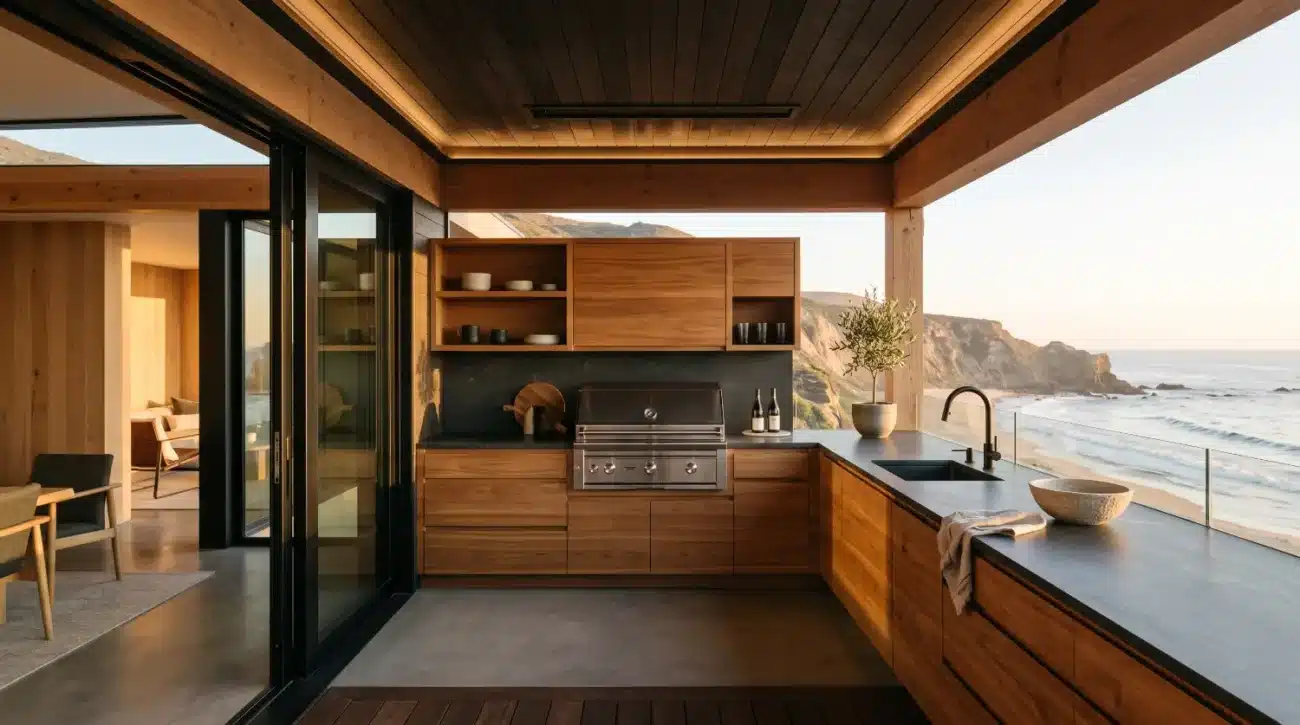
The U-Shaped Layout: The Enclosed Culinary Command Center
The U-Shaped layout provides an enclosed environment designed for high-capacity food prep and multi-cook hosting. Featuring three continuous counter runs, this footprint separates the four primary functional zones.
-
Best Suited For: Dedicated outdoor pavilions, high-end estates, and properties designed for frequent catered events.
-
Ergonomic Advantage: Keeps all tools, prep space, and appliances within immediate reach of the chef while creating a natural physical boundary that keeps guests out of active work zones.
-
Design Integration: Incorporating a raised secondary bar tier along the outer perimeter enables guests to converse with the chef without entering the cooking area.
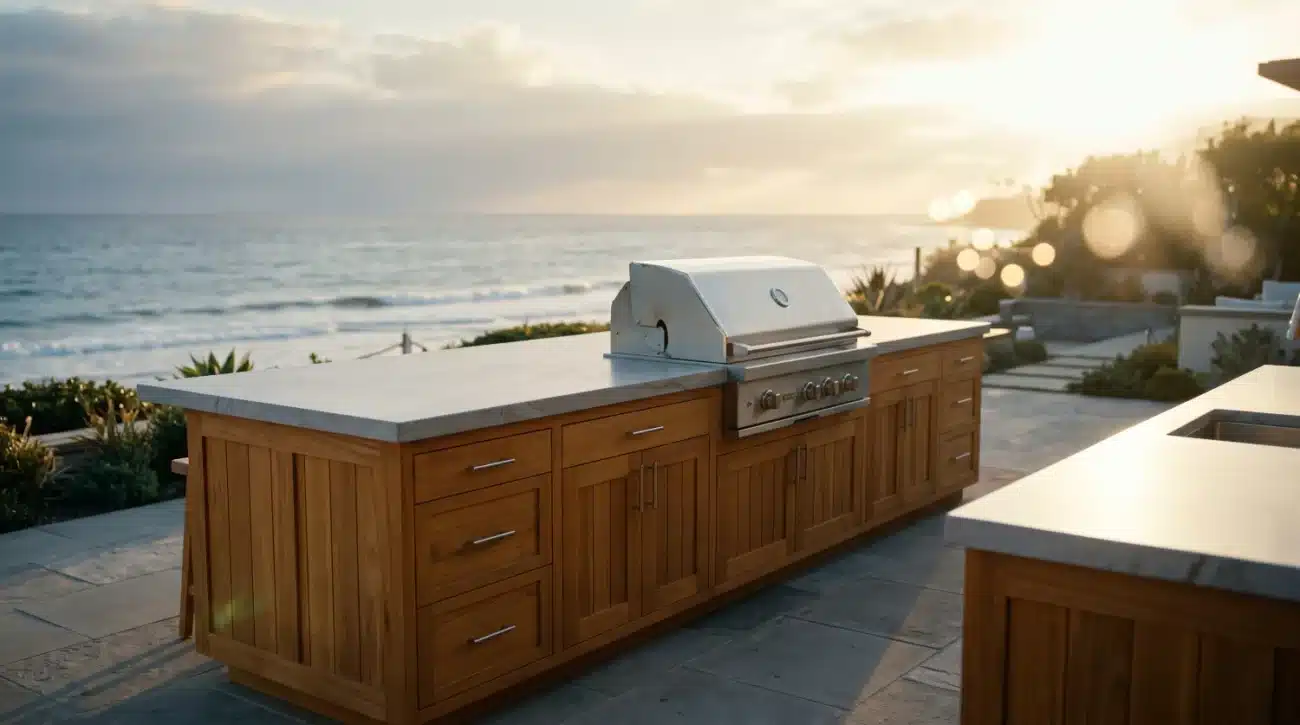
The Island Configuration: Dynamic Biophilic Focal Point
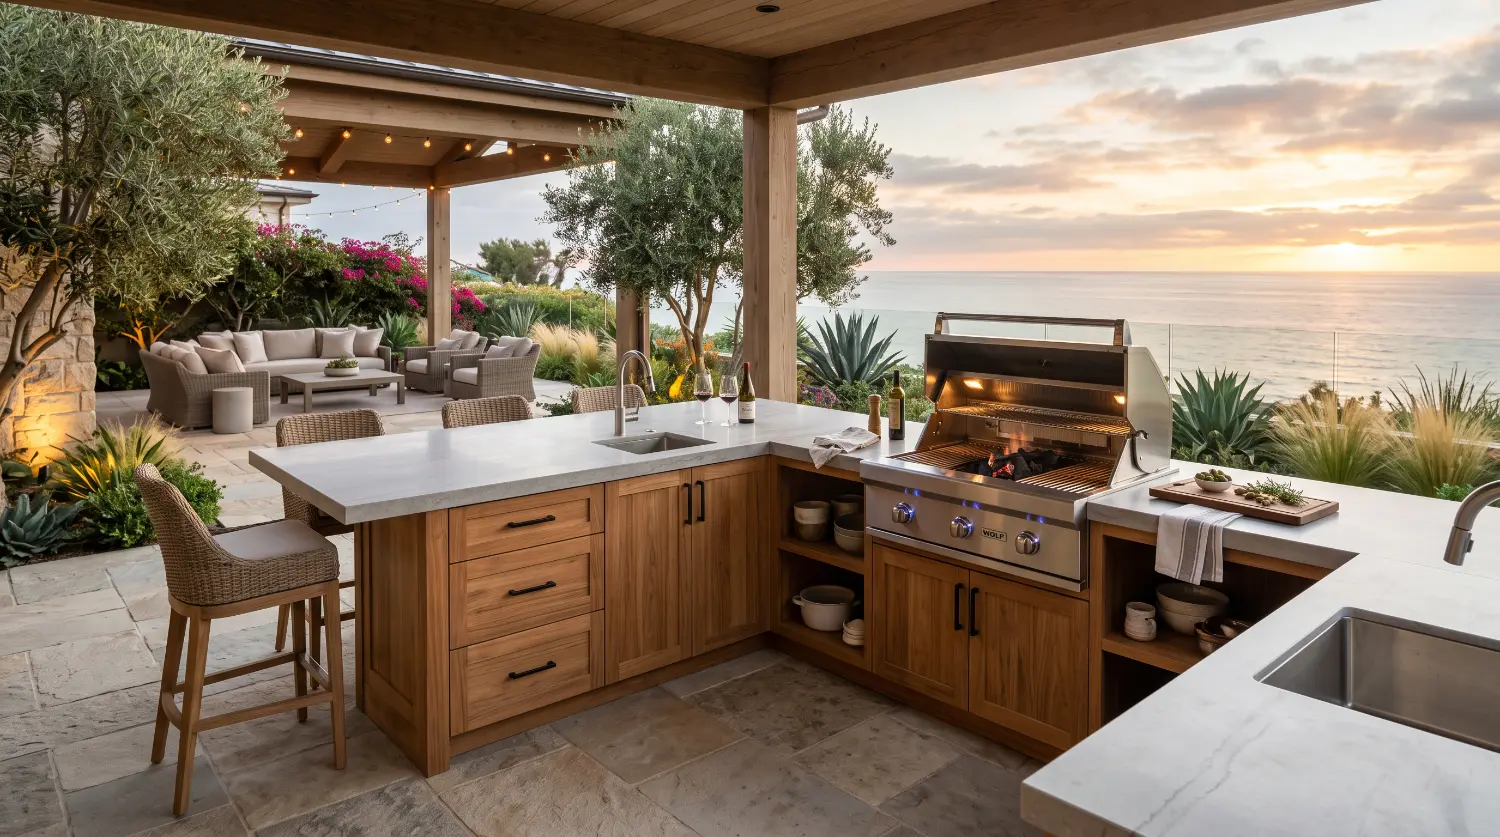
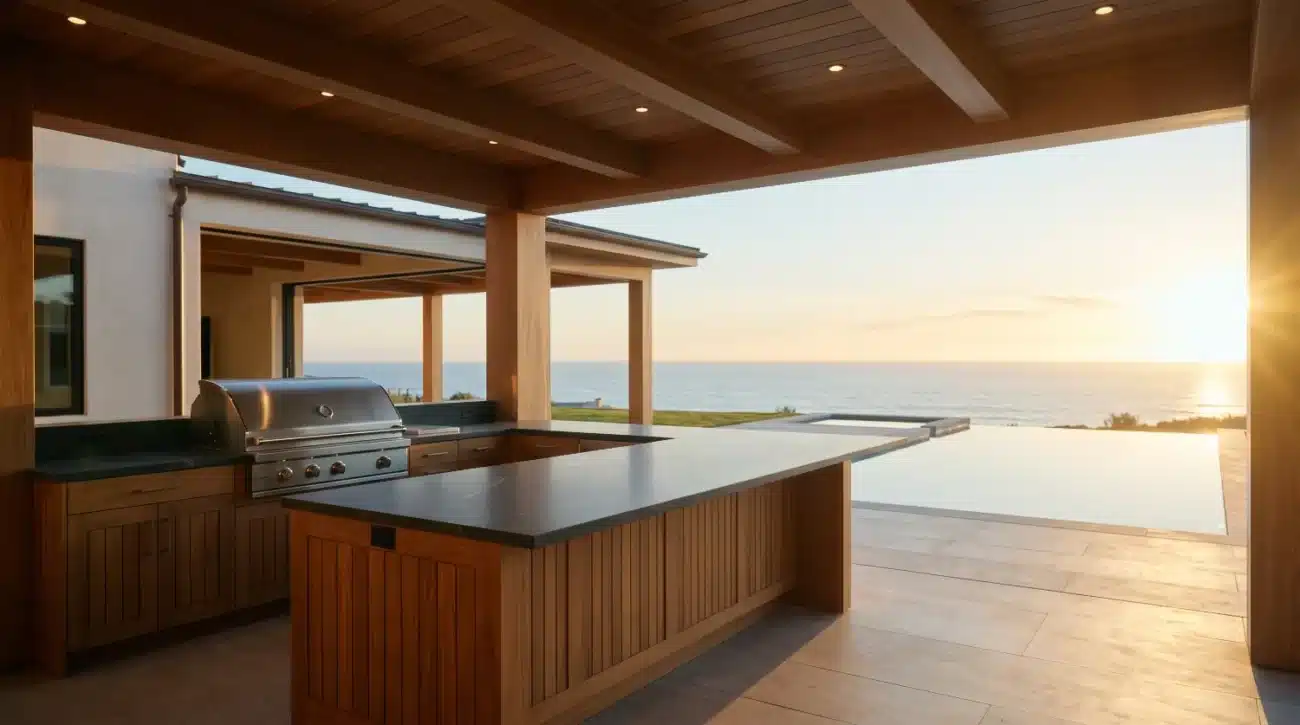
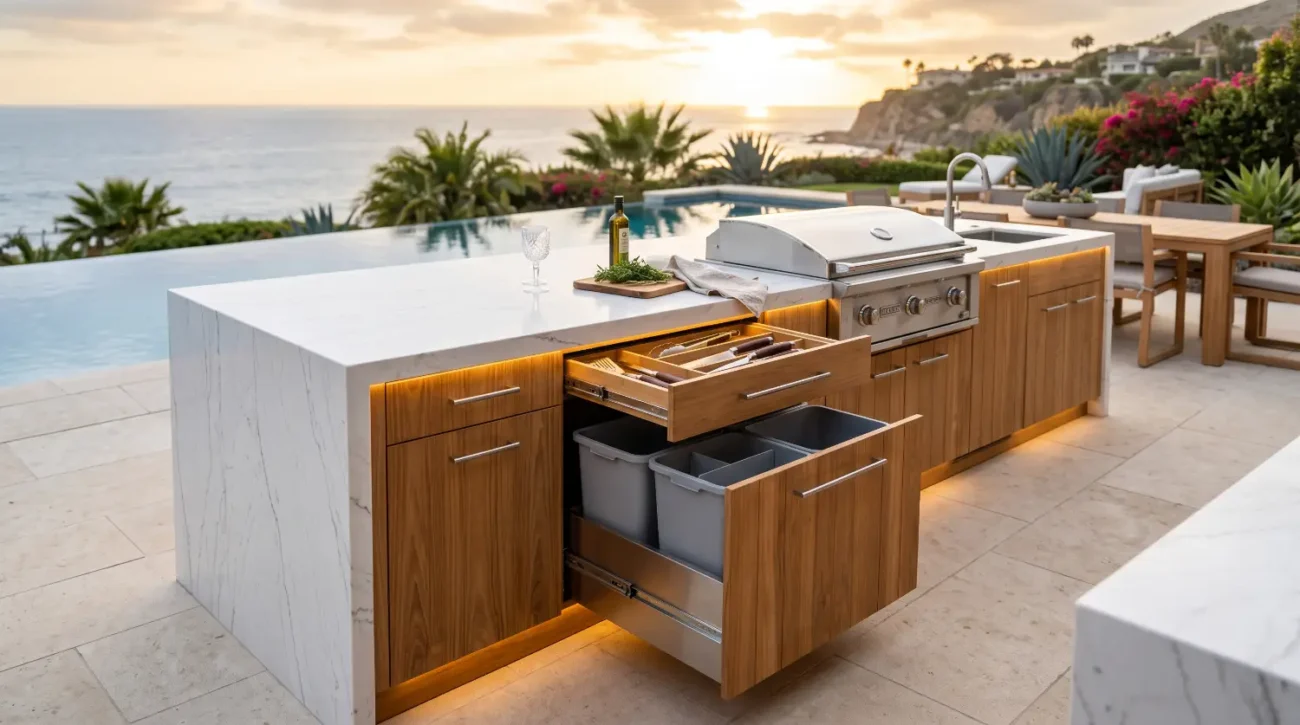
The Island layout places the outdoor kitchen central to the surrounding landscape, providing 360-degree access and linear interaction with guest lounge areas.
Island Layout Spatial Map
-
Primary Prep and Cooking Module: Holds the main sink, continuous dry prep counter, and primary gas grill along a single multi-functional island core.
-
Clearance Corridor: Maintains a continuous 48-inch walkway between the functional kitchen module and secondary guest seating areas.
-
Guest Interaction Counter: Positions raised bar stool seating parallel to the prep module, allowing guests to socialise with the cook while remaining safe from active heat zones.
Execution Details
-
Best Suited For: Expansive backyards, infinity pool decks, and panoramic oceanfront view corridors.
-
Ergonomic Advantage: Eliminates wall constraints, providing open pathways for guests and flexible placement of preparation stations.
-
Design Integration: Utilizing modular solid teak island inserts creates a rich aesthetic contrast against sleek porcelain, quartzite, or smooth concrete surfaces.
The Parallel/Galley Layout: Efficient Linear Transitions
The Galley layout utilizes two parallel counter runs, forming an efficient culinary corridor between them.
-
Best Suited For: Narrow linear sites, urban rooftops, and transition spaces connecting indoor living rooms to outdoor dining decks.
-
Ergonomic Advantage: Enables direct linear transitions between storage, prep, and cooking zones, minimizing necessary steps during service.
-
Design Integration: Setting one run against the home’s exterior wall while using the parallel run as a room divider creates a smooth spatial flow while preserving sightlines across the property.
To review real-world design executions, explore the Pacific Teak Millworks Outdoor Design Blog for project showcases across coastal and sunbelt destinations.
External References
Key Takeaways: Outdoor Kitchens
-
Organize by Functional Zones: Structure outdoor kitchen footprints into Hot, Cold, Wet, and Dry zones to streamline prep workflows and reduce guest cross-traffic during events.
-
Prioritize Marine-Grade Materials: Specify Grade-A solid plantation teak paired with 316 marine-grade stainless steel hardware to prevent corrosion, timber swelling, and finish degradation in harsh coastal environments.
-
Incorporate Correct Clearances: Maintain 42- to 48-inch walkway aisles, minimum 24-inch landing zones adjacent to grills, and 36-inch continuous prep expanses to ensure comfortable operation.
-
Plan Structural Support: Verify that cabinet framing utilizes mortise-and-tenon joinery capable of carrying heavy quartzite, granite, or cast concrete countertops.
-
Allow Proper Appliance Ventilation: Integrate rear and toe-kick ventilation paths within wooden cabinetry to prevent heat buildup around undercounter refrigeration units.
-
Avoid Film-Forming Sealers: Protect solid teak using breathable penetration oils or allow it to naturally oxidize to a silver-grey patina rather than applying surface coatings that trap moisture and peel over time.
Ready to elevate your exterior living project with custom solid teak cabinetry? Whether you are a homeowner gathering layout inspiration or a trade professional managing CAD specifications, the team at Pacific Teak Millworks is here to assist. Contact Darin directly at (949) 365-6513, email us at darin@pacificteakmillworks.com, or visit our Trade Inquiries & Contact Page to request wood finish samples, review technical CAD drawings, and consult on custom layout designs.