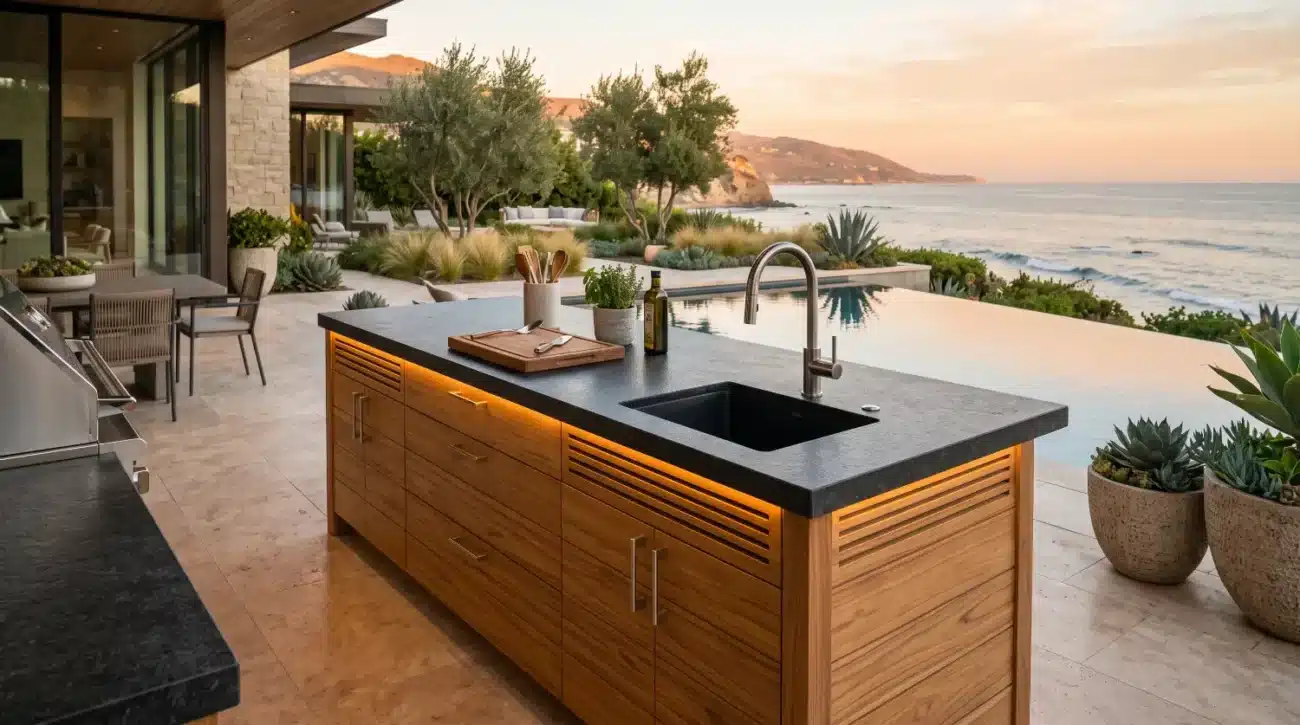
Executive Summary:
-
Vertical Storage Optimization: Floating solid teak wall cabinets reclaim unused vertical space, removing layout clutter without sacrificing floor area in luxury outdoor kitchens.
-
Architectural Proportions: Strategic cabinet depths between twelve and fourteen inches prevent head clearance issues and preserve an open, airy indoor-outdoor design aesthetic.
-
Marine-Grade Durability: Grade-A teak combined with 316 stainless steel hardware resists salt spray, intense UV exposure, and moisture breakdown without delaminating.
-
Trade Integration: Clear CAD specifications and internal framing allowances bridge the gap between initial homeowner inspiration and seamless contractor installation.
How Can I Add Upper Wall Storage to an Outdoor Kitchen Without Overcrowding the Space?
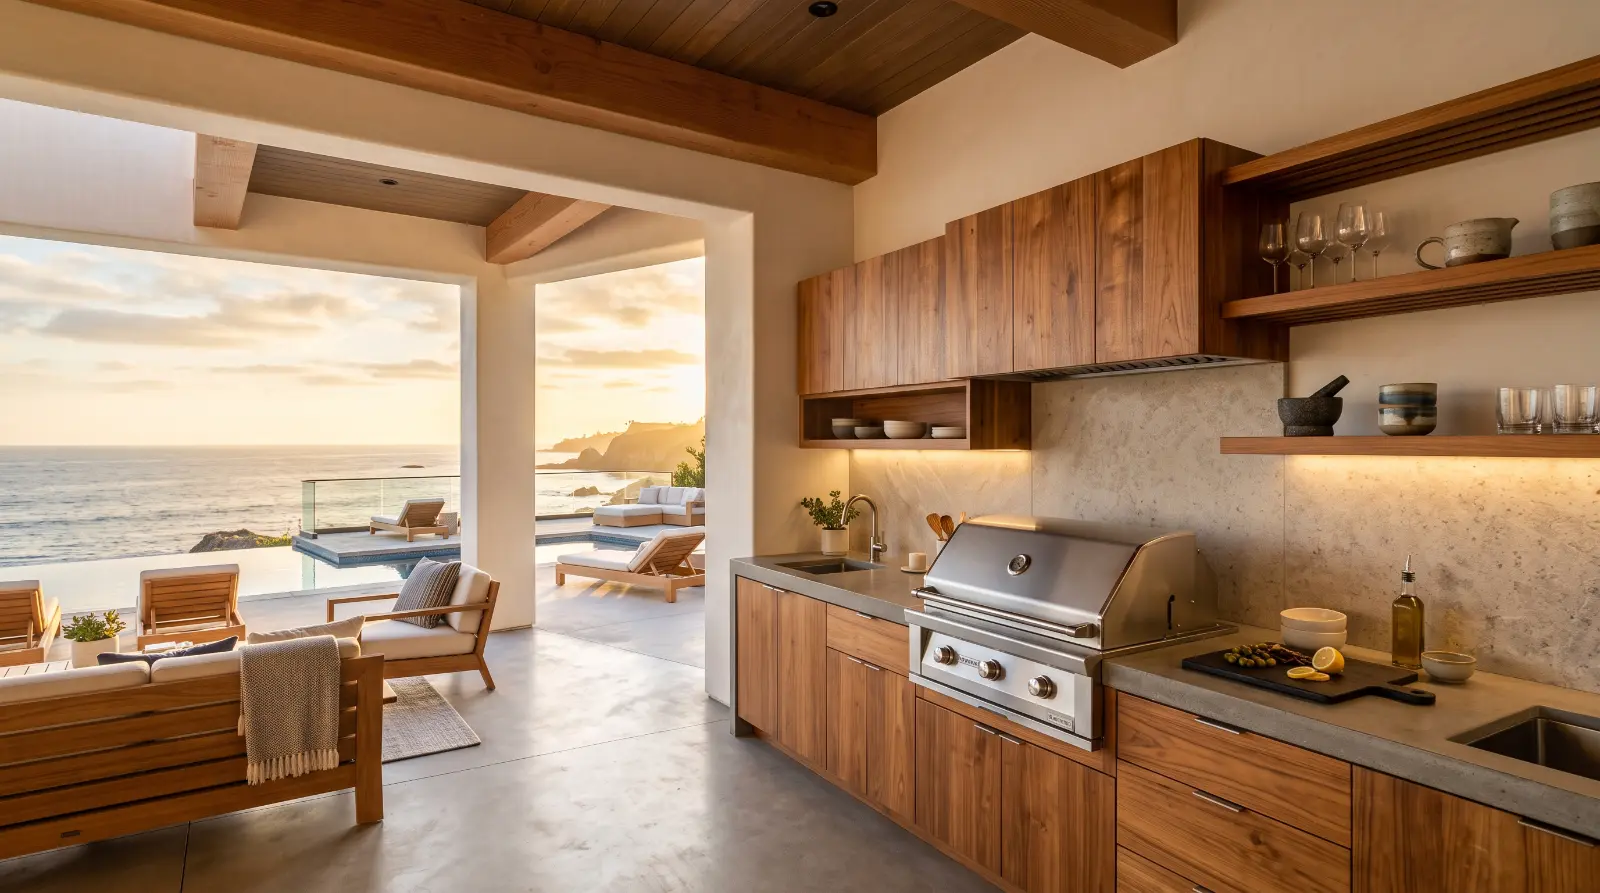
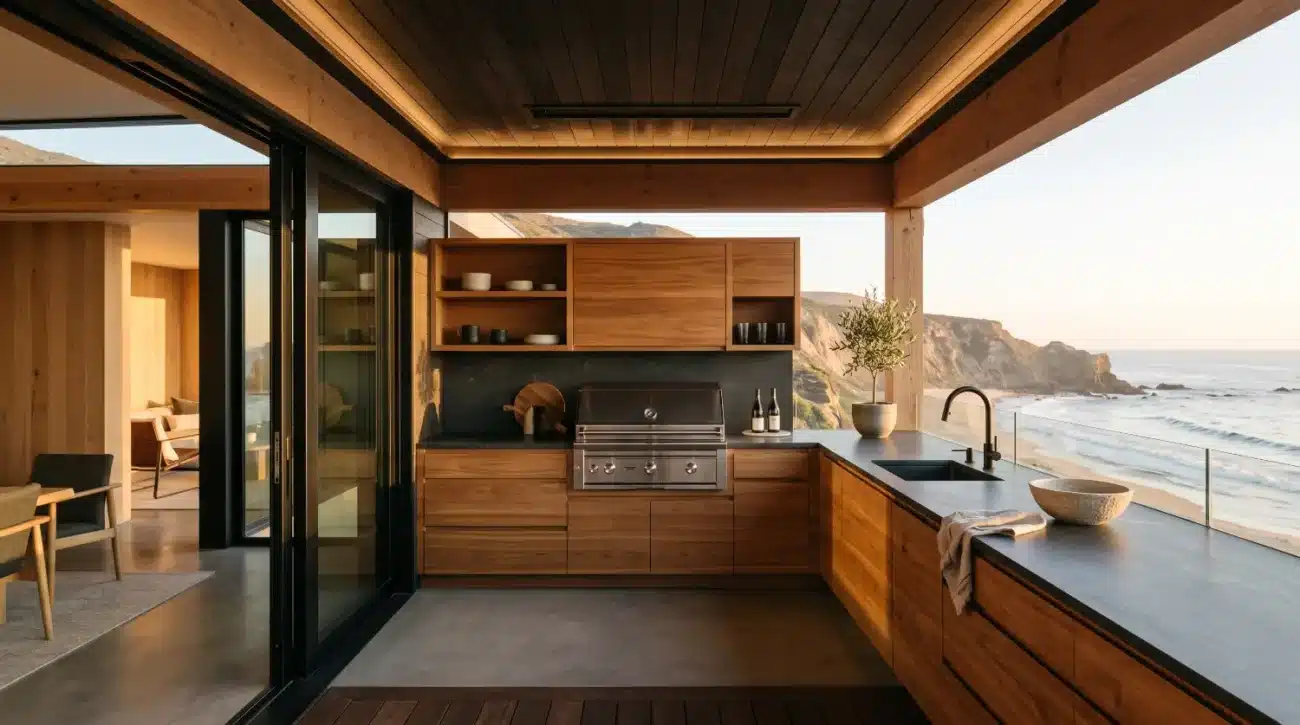
When a coastal Malibu homeowner requested a full-service culinary suite on her covered loggia, the initial architectural renderings presented a common dilemma. To fit a high-BTU gas grill, ice maker, deep sink, and trash recyclers, the lower cabinet run extended edge-to-edge across the primary focal wall. The floor space was entirely maximized, yet everyday prep items like olive oils, spice rubs, grilling tools, and glassware had no dedicated home close to eye level.
The conventional instinct would be to widen the island or extend the base cabinetry outwards. Doing so inevitably restricts traffic flow, blocks sightlines to the surrounding landscape, and makes the outdoor entertaining area feel congested.
Mounting upper cabinetry outdoors introduces distinct spatial challenges. Heavy, bulky wall units can easily overpower an exterior structural wall, cast unwanted shadows across prep surfaces, or create a claustrophobic environment for the chef.
The solution lies in intentional vertical integration. By utilizing floating, flush-mounted cabinetry engineered specifically from Grade-A teak and marine-grade hardware, designers can capture vital vertical storage while keeping the surrounding space expansive and open.
Fast Track Summary for Specifiers
-
Scale and Depth: Keep upper cabinets strictly between twelve to fourteen inches deep to preserve sightlines while avoiding head clearance issues.
-
Material Science: Grade-A plantation teak offers natural oil and silica densities that resist saltwater delamination and thermal movement.
-
Structural Support: Integrated backing plates and 316 stainless steel fasteners prevent sag under heavy stone or exterior cladding loads.
-
Architectural Flow: Open slatted lower shelving mixed with closed upper storage maintains light pass-through in outdoor loggias and kitchens.
How Vertical Storage Maintains Architectural Flow and Spatial Proportions
Outdoor kitchen upper wall cabinets allow homeowners and landscape architects to shift storage density upward without compromising the overall footprint of the patio or loggia. Placing storage on vertical surfaces reclaims dead space above prep areas while preserving the foot traffic zones below.
Architectural Clearance and Spatial Envelope
When planning upper storage, precision in spatial envelope layout ensures safety and accessibility:
-
Solid Teak Upper Unit: Engineered to a shallow profile of twelve to fourteen inches in depth, mounted flush or floating along the exterior wall.
-
Clearance Zone: A designated vertical span of twenty-four to thirty inches between the top of the counter and the bottom of the upper unit.
-
Countertop Surface Area: Standard base counters range from twenty-four to thirty inches in depth, allowing comfortable prep space beneath the upper cabinetry.
-
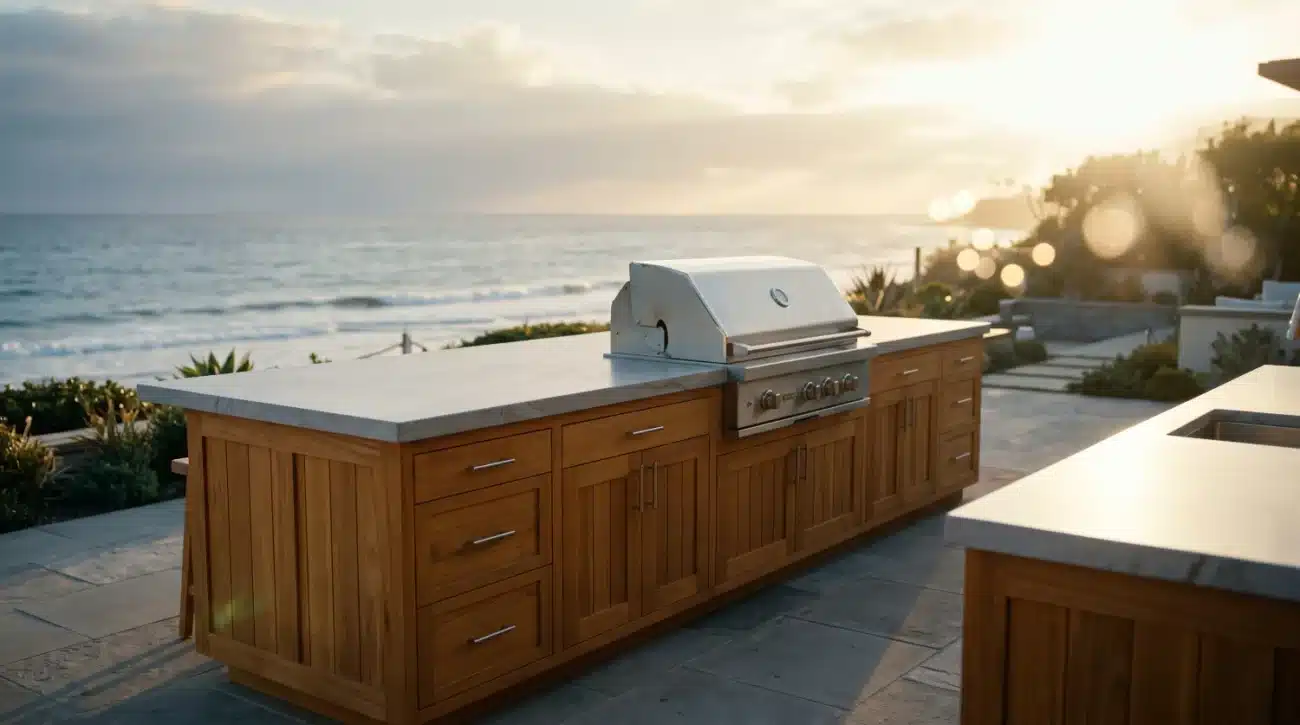
Teak Base Cabinet Unit: Grounded base cabinetry supporting heavy cooking appliances, stone slabs, and utility inserts.
Architecturally, upper storage must balance weight and accessibility. In an interior kitchen, standard upper cabinets measure twelve to fifteen inches deep and are mounted eighteen inches above the countertop. In an outdoor residential environment, those same dimensions can feel restrictive due to varying overhead structures like pergolas, high loggia ceilings, or open-sky frame walls.
To prevent a cramped work environment, exterior upper cabinetry requires tailored spatial proportions:
-
Shallow Depth Profiles: Keep upper wall cabinet depths strictly between twelve and fourteen inches. This depth comfortably accommodates large dinner plates, stemware, and grill accessories while keeping the unit clear of the cook’s head clearance envelope.
-
Elevated Mounting Clearances: Mount upper units twenty-four to thirty inches above the finished countertop surface rather than the standard interior eighteen inches. This extra vertical space accommodates tall appliances, allows heat from grill hood margins to dissipate safely, and maintains open sightlines across the pool deck or yard.
-
Proportional Vertical Heights: Select upper cabinet vertical profiles between eighteen and twenty-four inches. Short, horizontal-orientated cabinetry creates long, lean sightlines that visually widen narrow architectural walls.
-
Integrated Under-Cabinet Lighting: Incorporate recessed channel LED strip lighting beneath the lower rail of the upper cabinetry. Illuminating the countertop surface below eliminates deep shadows cast by overhead roofs or loggia structures.
When exploring specialized layouts, specifiers can review the curated configurations within our Wall Cabinets Collection to evaluate how shallow-depth vertical units seamlessly integrate above outdoor cooking suites.
Material Performance Analysis: Grade-A Teak versus Synthetic Alternatives
-
Grade-A Teak Wood: Demonstrates exceptional salt air resistance due to natural oils, maintains high UV stability, and exhibits minimal thermal expansion.
-
Polymer and High-Density Polyethylene: Provides high salt air resistance, moderate UV stability, but suffers from high thermal expansion, leading to severe surface warping in heat.
-
Powder-Coated Metal: Offers fair salt air resistance (prone to underlying corrosion once scratched), high UV stability, and low thermal expansion.
-
Exterior Grade Plywood: Offers poor salt air resistance, poor UV stability, and high thermal movement, quickly delaminating in damp coastal conditions.
Balancing Material Science and Coastal Weather Exposure
To successfully install upper wall cabinetry outdoors, the selected material must withstand intense thermal expansion, severe UV radiation, high humidity, and direct wind-driven saltwater exposure.
Grade-A Teak Wood Anatomy
-
Natural Silica Crystals: Form a dense internal microscopic shield that actively resists mechanical wear and abrasive weather elements.
-
High Tectonic Oil Resin: Acts as a built-in water repellent that rejects moisture intrusion and shields against severe coastal salt spray.
-
Dense Annual Growth Rings: Provide exceptional dimensional stability, preventing structural warping, checking, and wood splitting across extreme seasonal shifts.
Grade-A teak (Tectona grandis) harvested from mature plantation heartwood provides an ideal natural balance of density, oil retention, and structural strength. Unlike softwoods or exterior-grade composites that rely on surface glues and synthetic veneers, solid teak contains high concentrations of natural tectonic resins and silica.
According to research by the USDA Forest Products Laboratory, teak’s natural oil matrix makes it exceptionally stable during extreme moisture fluctuations. This dimensional stability prevents individual cabinet doors, face-frames, and wall panels from warping or binding across seasonal climate swings.
Patina Evolution and Lifecycle Maintenance Timeline
-
Initial Installation: Displays a rich, warm golden-brown natural grain with deep amber highlights and active oil protection.
-
Three to Six Months: Evolves into subtle, muted honey tones as initial UV exposure activates natural surface oxidation.
-
Nine to Twelve Months: Weathering develops into a distinguished, silvery-grey oxidized patina that requires minimal functional upkeep.
-
Alternative Protection Protocol: Periodic applications of specialized teak oil preserve the original warm golden-brown color indefinitely.
When specifying outdoor wall cabinets, designers must navigate critical material mechanics:
-
Resistance to Saltwater Delamination: Composite, plywood, and veneered cabinetry utilize synthetic glues that breakdown under continuous marine salt spray, leading to edge peeling and core swelling. Solid teak joinery relies on interlocking mortise-and-tenon construction that avoids adhesive degradation entirely.
-
Hardware Metallurgy Specifications: Standard exterior cabinetry often fails at the hardware level. Outdoor wall cabinets must incorporate 316 marine-grade stainless steel soft-close hinges and concealed mounting brackets to prevent structural rusting and orange oxide staining along the cabinet faces.
-
Patina Dynamics and Surface Protection: Exposed to natural UV light, teak oxidizes over six to twelve months into a distinguished silvery-grey patina without losing its structural integrity. Homeowners seeking to retain the warm golden luster can apply specialized protective treatments detailed in our Teak Care & Maintenance Guide.
-
Vapor Barrier Interlayering: Mounting wooden wall cabinetry directly against porous masonry, stone veneer, or stucco can trap moisture behind the cabinet back panels. Installing a high-density polyethylene shim or continuous air gap strip behind the rear frame ensures proper cross-ventilation and prevents mold formation.
-
Breathable Joinery Gaps: Solid teak doors require micro-expansion allowances engineered into the floating center panels to allow the wood to breathe naturally during heavy rainstorms or humid summer afternoons without binding against the face-frame.
To verify how solid timber construction compares against common synthetic alternatives, homeowners and builders can consult our detailed Frequently Asked Questions Document for technical breakdowns.
Structural Weight and Load Calculations
-
Solid Teak Wall Cabinet (36-inch unit): Establishes a baseline dry weight between 65 and 85 pounds.
-
Stored Glassware and Outdoor Dinnerware: Adds an estimated static payload between 40 and 60 pounds.
-
Heavy Cast Iron Cookware and Grilling Accessories: Adds a concentrated payload between 50 and 75 pounds.
-
Minimum Anchor System Requirement: Requires hardware rated for a minimum of 250 pounds of shear capacity per anchor point.
Design Strategies to Keep Upper Storage Lightweight and Elegant
Integrating upper cabinetry without making the space feel visually heavy requires strategic design choices. Blending open and closed storage elements helps maintain an uncluttered layout.
Balancing Visual Weight: Closed versus Open Storage Modules
-
Closed Upper Cabinets: Utilizing solid teak Shaker doors conceals dry pantry goods, preserves a clean facade, and protects sensitive items from airborne dust and salt spray.
-
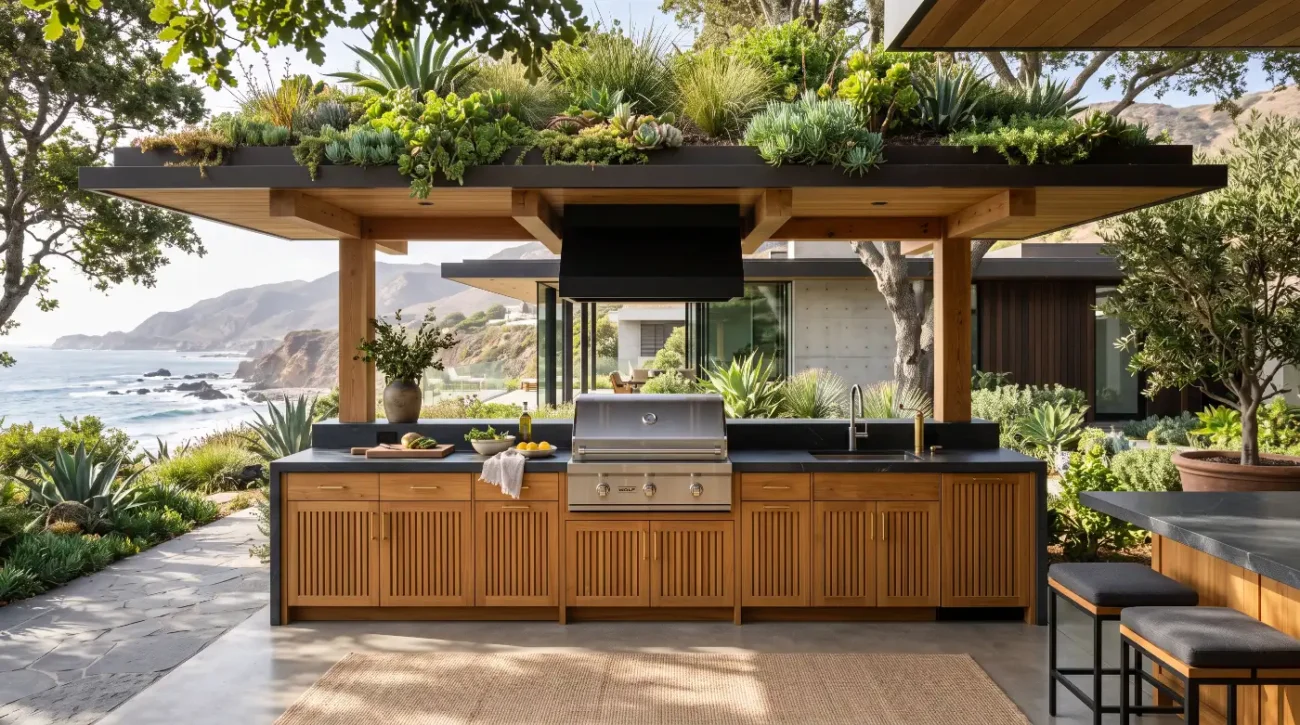
Open Slatted Lower Units: Incorporating horizontal slatted teak shelves lets natural daylight pass through, displays daily glassware, and creates a sense of spatial depth against the back wall.
Design strategies for optimizing visual light:
-
Incorporate Slatted Back Panels: Utilizing horizontal or vertical slatted teak backings behind open floating shelves allows the background wall material, such as hand-cut limestone or dark slate, to remain visible. This design choice maintains textural depth while allowing natural light to filter through the cabinetry framework.
-
Pair Wall Cabinets with Floating Shelving: Flank a central solid-door wall cabinet with open floating teak shelves on either side. This approach provides enclosed protection for delicate items while keeping daily-use accessories on display, softening the visual transition across the wall.
-
Establish Continuous Linear Alignment: Align the top edge of the upper wall cabinetry with adjacent architectural features, such as door frames, window lintels, or pergola beam headers. Unifying these structural grid lines creates a clean, intentional design across the entire outdoor living space.
-
Utilize Integrated Finger Pulls: Eliminate protruding handles and knobs by selecting integrated, routed finger pulls along the lower edge of cabinet doors. Removing exterior hardware creates clean, modern surfaces that complement minimalist coastal and transitional architecture.
-
Contrast Rich Teak with Light Backdrops: Position golden teak cabinetry against light-colored exterior wall cladding, such as limewashed brick, light travertine, or crisp off-white stucco. This visual separation highlights the natural wood grain without making the space feel closed-in.
When designing the layout for the lower cabinetry base runs, trade professionals can reference the dimensional frameworks in our Base Cabinets Collection to ensure clean vertical alignment between upper and lower cabinet modules.
Overcoming Architectural, Framing, and Installation Challenges
Mounting heavy timber cabinetry to exterior structures requires precise coordination between the interior designer, exterior architect, and general contractor long before final installation begins.
Exterior Wall Mounting Structural Layers
To achieve long-term structural stability against exterior framing, the wall assembly must be layered in the following sequential order from exterior to interior:
-
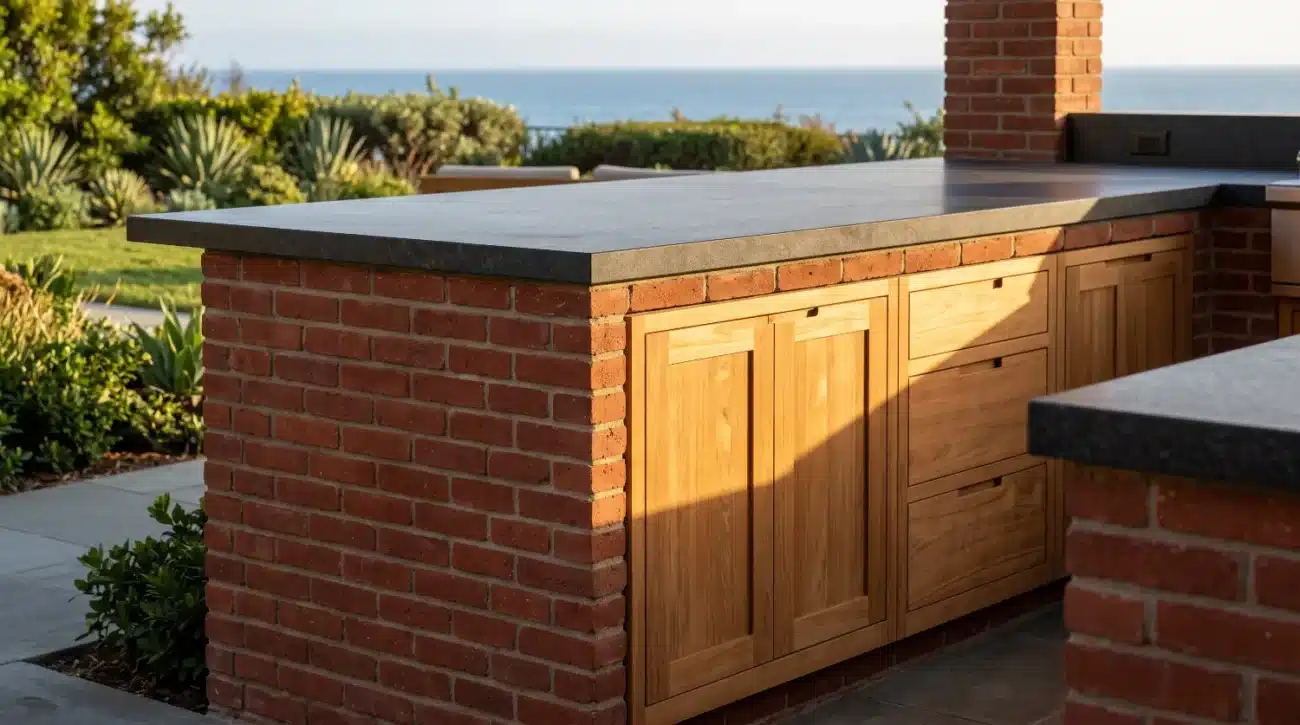
Exterior Facing Material: Stucco, stone veneer, or lap siding forming the primary architectural wall surface.
-
Weather-Resistant Barrier: High-performance drainage plane or building wrap protecting the internal framing.
-
Structural Plywood Backing: Half-inch marine-grade plywood sheet fastened flush against the wall studs.
-
Structural Wall Framing: Standard two-by-six framing studs engineered to carry heavy shear loads.
-
Marine Fasteners: Grade-316 stainless steel lag screws anchoring the cabinet cleat directly through all exterior layers into the structural framing.
Step-by-Step Trade Installation Protocol
-
Verify Structural Back-Blocking inside Wall Cavities: Standard exterior wall shear panels or stucco lathe are rarely sufficient to support the static weight of solid hardwood cabinetry filled with heavy cookware. Specify continuous 2×6 structural wood blocking or a half-inch marine plywood backing sheet behind the exterior wall cladding to secure full-length mounting anchors.
-
Account for Masonry Surface Irregularities: Hand-stacked stone veneers, split-face slate, and textured stucco walls are rarely plumb or flat. Installing a level metal or teak French cleat system over irregular masonry creates a plumb, true mounting line that prevents the cabinet frame from twisting when tightened down.
-
Ensure Safe Heat Clearances Near Cooking Equipment: Installing upper cabinetry directly above high-BTU gas grills or open-flame pizza ovens creates severe heat risks. Maintain a minimum horizontal clearance of twenty-four inches from the edge of any high-heat cooking surface, or install an insulated stainless steel heat shield along the underside of the cabinet.
-
Establish Water Drainage and Air Flow Pathways: Moisture that collects above overhead loggia structures can drip down onto the top surfaces of upper cabinets. Angle the top dust caps of upper cabinets slightly forward or maintain a one-inch top gap to prevent standing water from pooling along the top edges.
-
Coordinate CAD Specifications Across Trade Teams: Homeowners frequently save design inspiration photos and present them to their build team without technical installation specs. Providing clear CAD dimensions, load specifications, and appliance cutouts ensures smooth collaboration between landscape architects, electricians, and finish carpenters.
Designers seeking technical specifications and layout options can access our comprehensive Resource Center to download planning guides and CAD files for client presentations.
Trade and Project Execution Roadmap
-
Phase One: Spatial and CAD Planning: Establish exact wall blocking locations, clear height requirements, and utility conduit paths.
-
Phase Two: Framing and Rough-In: Install internal two-by-six wall blocking, run electrical wiring for under-cabinet lighting, and lay weather barriers.
-
Phase Three: Cladding and Exterior Finish: Apply stone, stucco, or siding finishes while leaving smooth mounting zones for hardware.
-
Phase Four: Final Millwork Mount: Secure solid teak cabinets to marine-grade stainless steel cleat systems, complete trim fitting, and adjust soft-close hinges.
By balancing material science, refined dimensions, and structural backing, upper wall cabinetry transforms unused vertical space into functional storage, elevating both the utility and aesthetic of luxury outdoor kitchens.
To review more real-world project examples, custom casework configurations, and technical guides, visit our Outdoor Design Blog or read about our commitment to artisan woodcraft on our About Us Page.
External References
Key Takeaways
-
Maximize Vertical Storage: Upper wall cabinets utilize unused space above countertops, preserving floor area and maintaining an open foot traffic layout.
-
Maintain Ideal Dimensions: Keep cabinet depths between twelve and fourteen inches and mount them twenty-four to thirty inches above the counter to ensure comfortable headroom and clear sightlines.
-
Specify Marine-Grade Materials: Use Grade-A solid plantation teak and 316 stainless steel hardware to prevent rust, warping, and delamination in harsh coastal weather.
-
Provide Structural Wall Support: Install continuous 2×6 wood blocking inside the wall cavity during framing to safely carry the weight of heavy timber cabinetry.
-
Blend Open and Enclosed Elements: Combine open slatted teak shelves with closed cabinet doors to keep the storage wall visually light while protecting daily kitchen essentials.
Contact Pacific Teak Millworks
Whether you are a homeowner curating design ideas or a trade professional working through complex structural specifications, our team provides personalized design support, technical guidance, and material samples. Contact Us / Trade Inquiries today to discuss your outdoor kitchen project or request custom CAD files for your build team.